This documentation will be superseded by the rewritten documentation at docs-beta.theqrl.org.
Head back to Documentation
Documentation
Create Tokens
The QRL supports QRT or Quantum Resistant Ledger Tokens. These tokens share the same encryption and QC resistance as the main QRL blockchain. You can create tokens either by using the qrl command line, or by browsing to the qrl web wallet application hosted at wallet.theqrl.org. Open your wallet, or create a new one to begin with this guide.
Creating a new token is easy. Once you have all of the pertinent details entered and the fee paid, the network takes care of the rest.
Token Creation
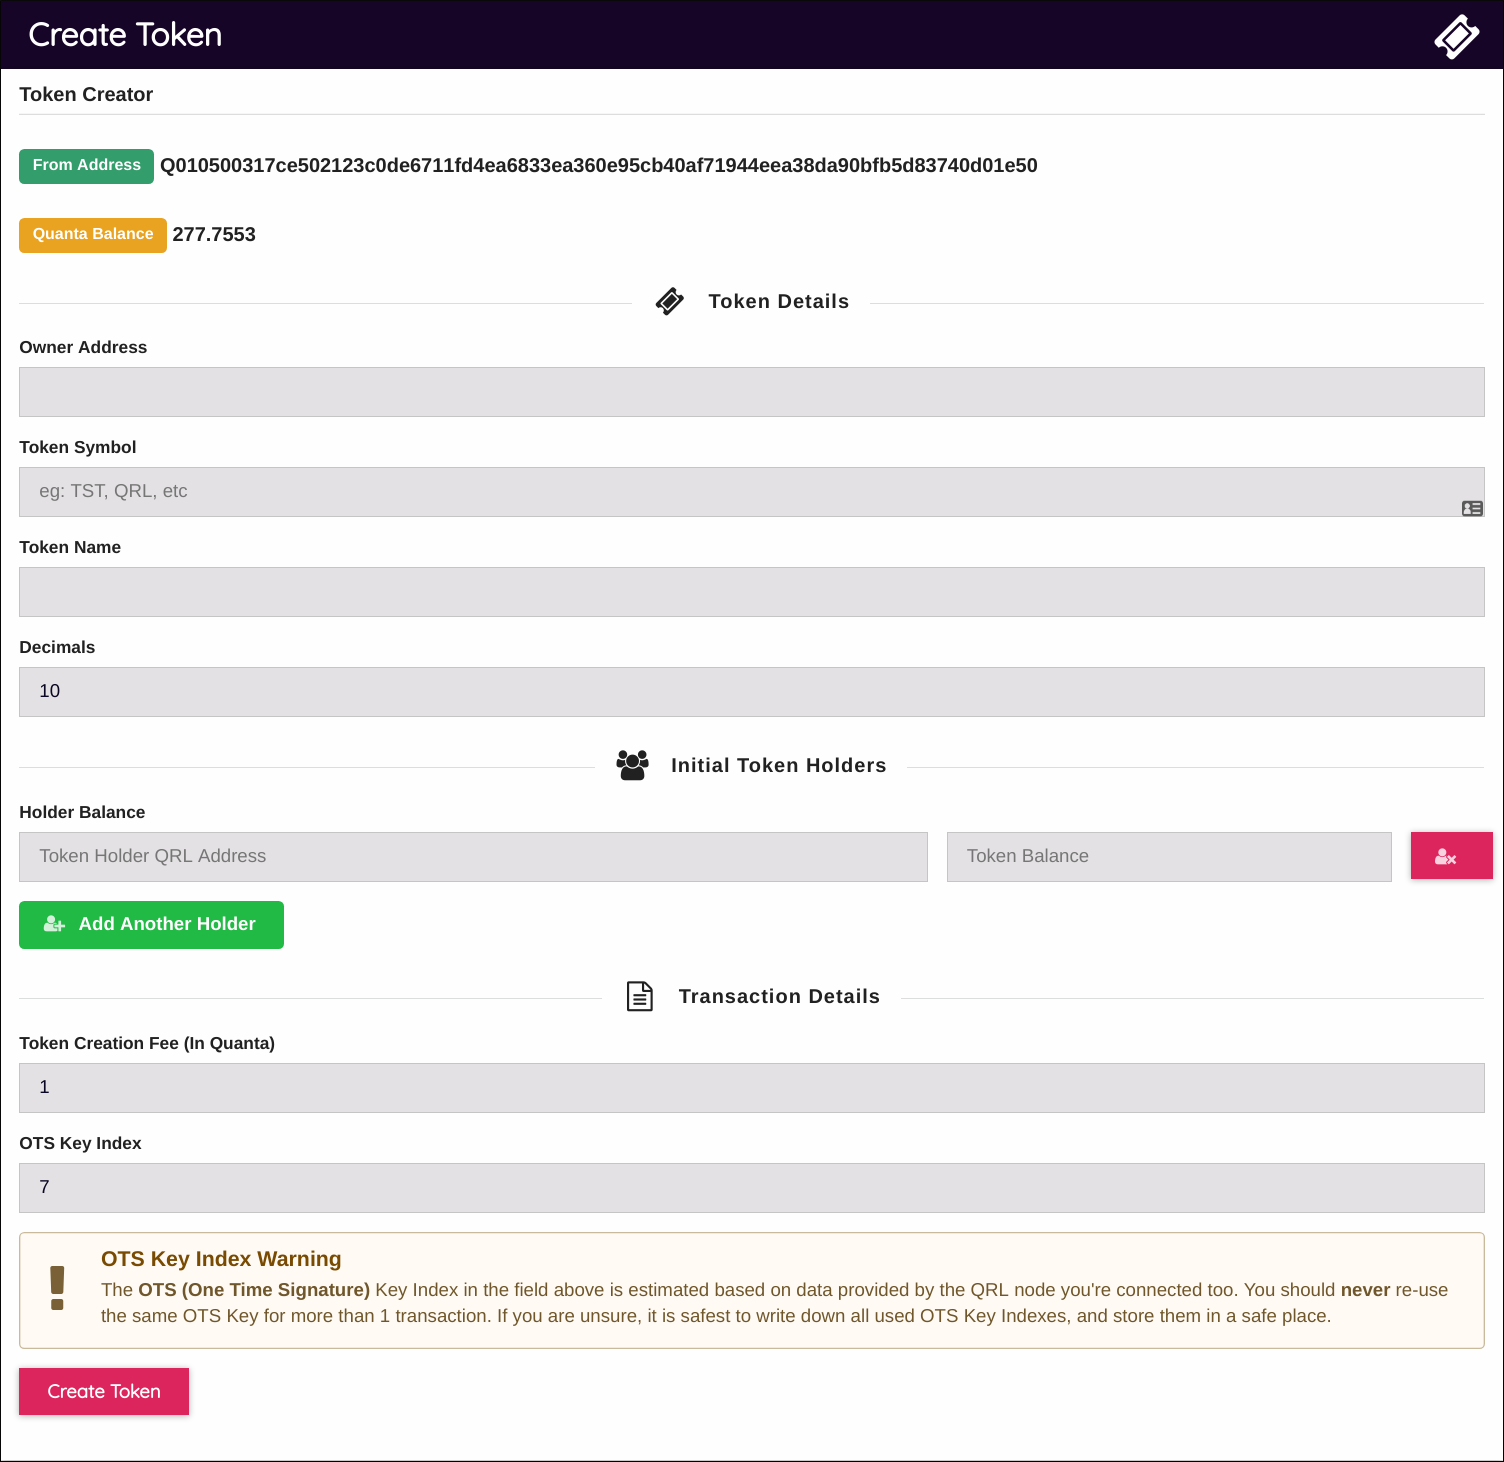
To create a token you will need to provide the following information:
- The token creation owners QRL address
- The token symbol
- the token name
- The amount of decimals for your token
- Initial Token Holder Address
- Enter at least one QRL address and the amount of tokens to create and send to this address
The “Initial Token Holders” field allows you to select the addresses that will receive the initial tokens. You can add as many addresses as you see fit. Below is an example showing the QRL fee for processing the transaction and the OTS key index we intend to use. Ensure this is an unused OTS Key.

Once you have filled in all of the necessary details, click the create token button at the bottom of the form. This will broadcast the creation of your token across the QRL network and send the newly minted tokens to the addresses specified.
You will get a confirmation page that shows the details of the transaction. Verify the information is correct and press “Confirm Token Creation”
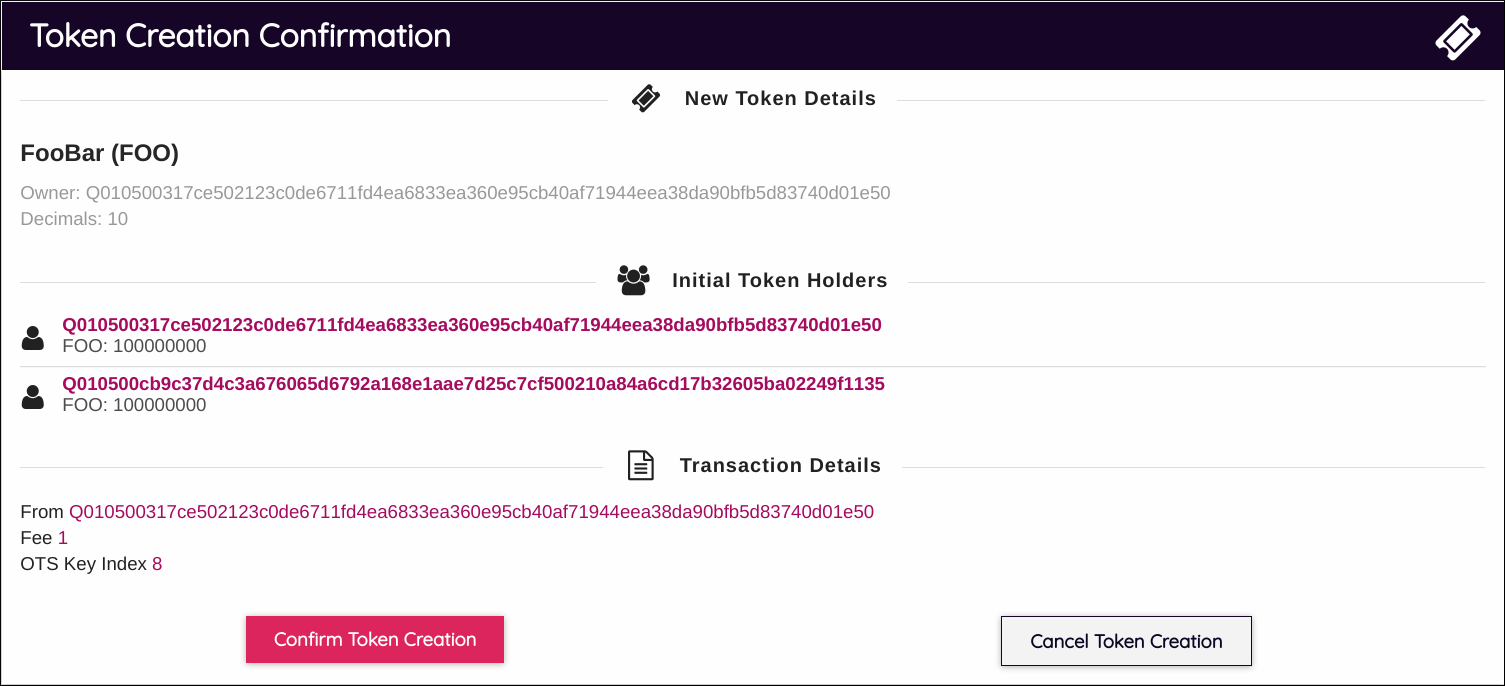
The confirmation screen will print the details of the transaction.
Checking Token Balance
You can check the balance of any tokens you have in your wallet by selecting the tokens tab in the top bar of the “Send and Receive” tab in the web wallet.

You can also see the recent transactions on the right of the balance screen.
You can receive tokens at your main QRL address, no need for anything special to receive.
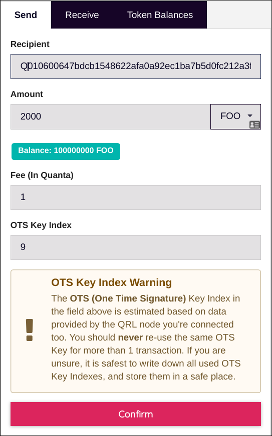
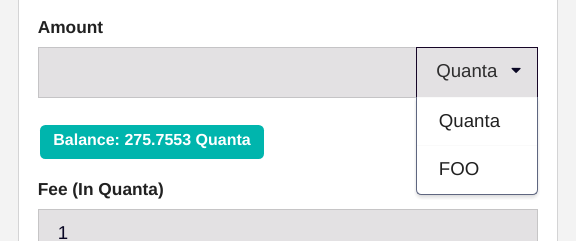
Sending Tokens
Using the web wallet we can send tokens to another QRL address. From the “Send and Receive” screen, select the drop down to the right of the “Amount” field.
Enter the details to send the tokens, and select “Confirm”. Progress through the following screens and wait for the confirmation.